Adding Mail Accounts
Watch the video tutorial
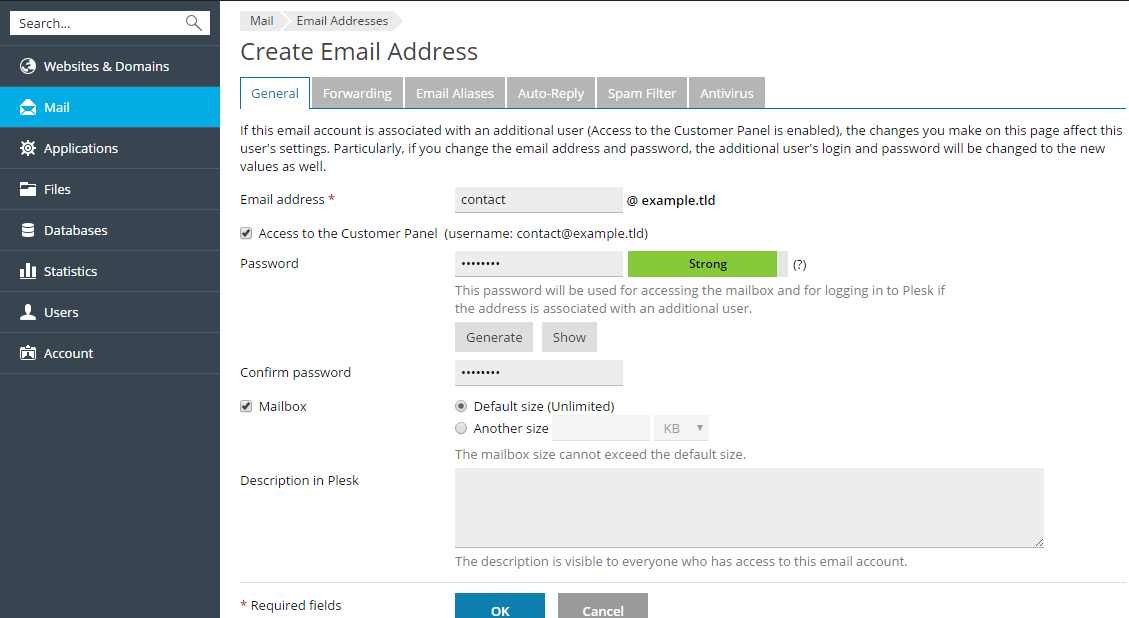
To create an email address:
- Run the Create Email Address wizard from the Mail page.
- Specify the following mailbox settings:
- Email address. Type the left part of the email address before the @ sign, and, if you have several domain names on your account, select the domain name under which the email address will be created.
- Access to the Customer Panel. Select this option if you want Plesk to create an additional user for the mail account owner. By default, this user has the role Application user. You can change this role and other user's settings later. For details, see the section (Advanced) Managing Additional User Accounts.
- Password. Set the password for accessing the mailbox. If you leave the option Access to the Customer Panel selected, the same password will be used for logging the user in to the Customer Panel.
- The maximum number of outgoing email messages. This setting is displayed only if the limitations on outgoing mail are switched on by your hosting provider. If so, you can either set the limit on the number of messages per hour, or leave the default value. For details, see Limiting Outgoing Mail.
- Mailbox. Turning off this option makes sense only if you want to use this address as a mail forwarder, which will forward all incoming mail to another address.
If you leave the option Mailbox selected, specify the mailbox size or use the default size defined by the provider's policy or your service plan.
- Description in Plesk. You can add additional information about the email address. This information will be displayed in the list of email addresses on the Mail section of your subscription. The hosting provider and anyone who has access to this mailbox will be able to view this description.